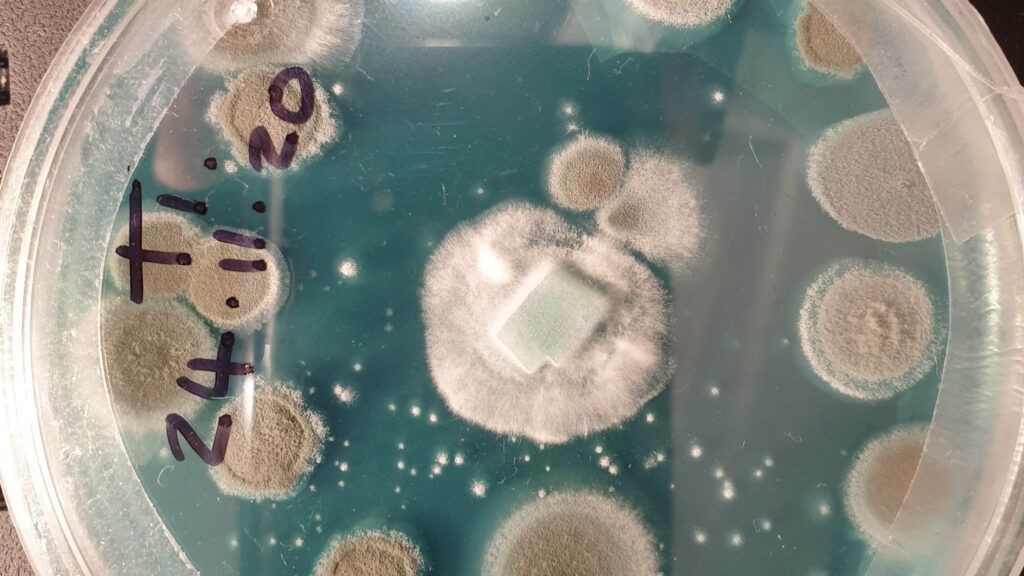
How To Clean A Spore Sample And Isolate A New Strain Of Fungus On Agar
To grow mushrooms from spores, it’s vital that you eliminate any contamination along the way because spores are inherently dirty. 99% of all spore samples will harbour a zoo of other microbes. To get good results consistently every time, you also need to isolate a genetically unique strain.
This article explains how to go from spore to producing a pure strain of mushroom mycelium that is ready to be expanded on grain or liquid culture. I will also include my favourite agar recipes and list all the equipment you might need.
So, how do you grow a clean, isolated new strain of mushroom mycelium on agar from spore?
Key steps
- Prepare and pour nutrient agar into agar plates/petri dishes.
- Inoculate nutrient agar with spore sample.
- Identify uncontaminated areas of fungal mycelial and transfer to new plates.
- Repeat step 3 until you obtain a clean sample (probably around 1-2 transfers)
- Identify sectors and transfer to new plates.
- Repeat step 5 until growth is even and consistent
- You now have an isolated strain of clean mycelium ready for expansion.
Part 1: Agar

What is Agar?
Agar is a mixture of two polysaccharides, agarose and agaropectin. The polysaccharides form the support structure of the algae cell wall and are released by heating.
Commercially, agar is usually sold as a powder which you then mix with water to form a gel using around 10g of agar to about 500g of water – more agar to water will result in a stiffer gel.
Why should I use agar?
Agar is the perfect medium to grow and observe microbes. Its indigestibility means the gell remains stable as the microbes grow. You can easily spot contamination and isolate mycelium because there is nowhere to hide on the agar plate’s two-dimensional world. And last but not least, it’s also cheap, easy to get set up and started.
What nutrients can I use in agar?
The nutrient you use will depend on what you are trying to grow and what you don’t want to grow. For general purpose, light malt extract (LME) works excellent because nearly all fungus will grow on it. Other people like to use grain water, potato dextrose, brown rice flour and even dog food.
The idea is to choose something that favours your mushroom mycelium’s growth over common contaminants like mould and bacteria.
Antibiotics are an optional additive which can, of course, prevent bacterial contamination. Gentamicin is commonly used for microbiology growth media because it’s effective and is one of the few heat-stable antibiotics to remain active after autoclaving.
Simple nutrient agar recipe for mushroom cultivation
*makes 20 plates
Ingredients
- 500g of tap water, filtered if possible
- 10g agar-agar
- 10g dry nutrient (I use light malt extract)
- 1g nutritional yeast extract *optional. Adds vitamins and minerals
Method:
- Add some of the water to the agar powder and make a paste. This prevents small undissolved lumps in your solution.
- Heat the remaining water and mix in the agar paste with the other ingredients making sure everything dissolves well. I usually bring everything to a boil in a saucepan then turn off the heat.
- Pour into a media bottle or some other container capable of withstanding the heat of the pressure cooker.
- If you are worried about the cap blowing out when you release the pressure, you can punch a small hole and plug it with micropore tape or Polyfill stuffing then wrap the whole lid in tinfoil to stop condensation getting in. Personally, I just crack the lid a bit and wrap in foil.
- Pressure cook the nutrient agar mixture at 15psi for 20 minutes.
- When the pressure is low enough to open the PC, remove the bottle and cool to around 52°C – just above the temperature, it will solidify as this will reduce condensation later on.
- Inside a still air box or in front of a flow hood, get ready to pour your plates.
- Divide the stack into two piles of ten plates.
- Starting at the bottom, carefully lift the entire stack of plates, pour the lowest plate first and work your way up the pile.
- Leave the plates to cool down and solidify in the still airbox with the armholes covered.
- To help minimise condensation, you can leave a small container of hot water on top of each pile to reduce the temperature differential.
- When cooled, carefully wrap each dish with some Parafilm and keep for a few days before using to make sure they are not contaminated.
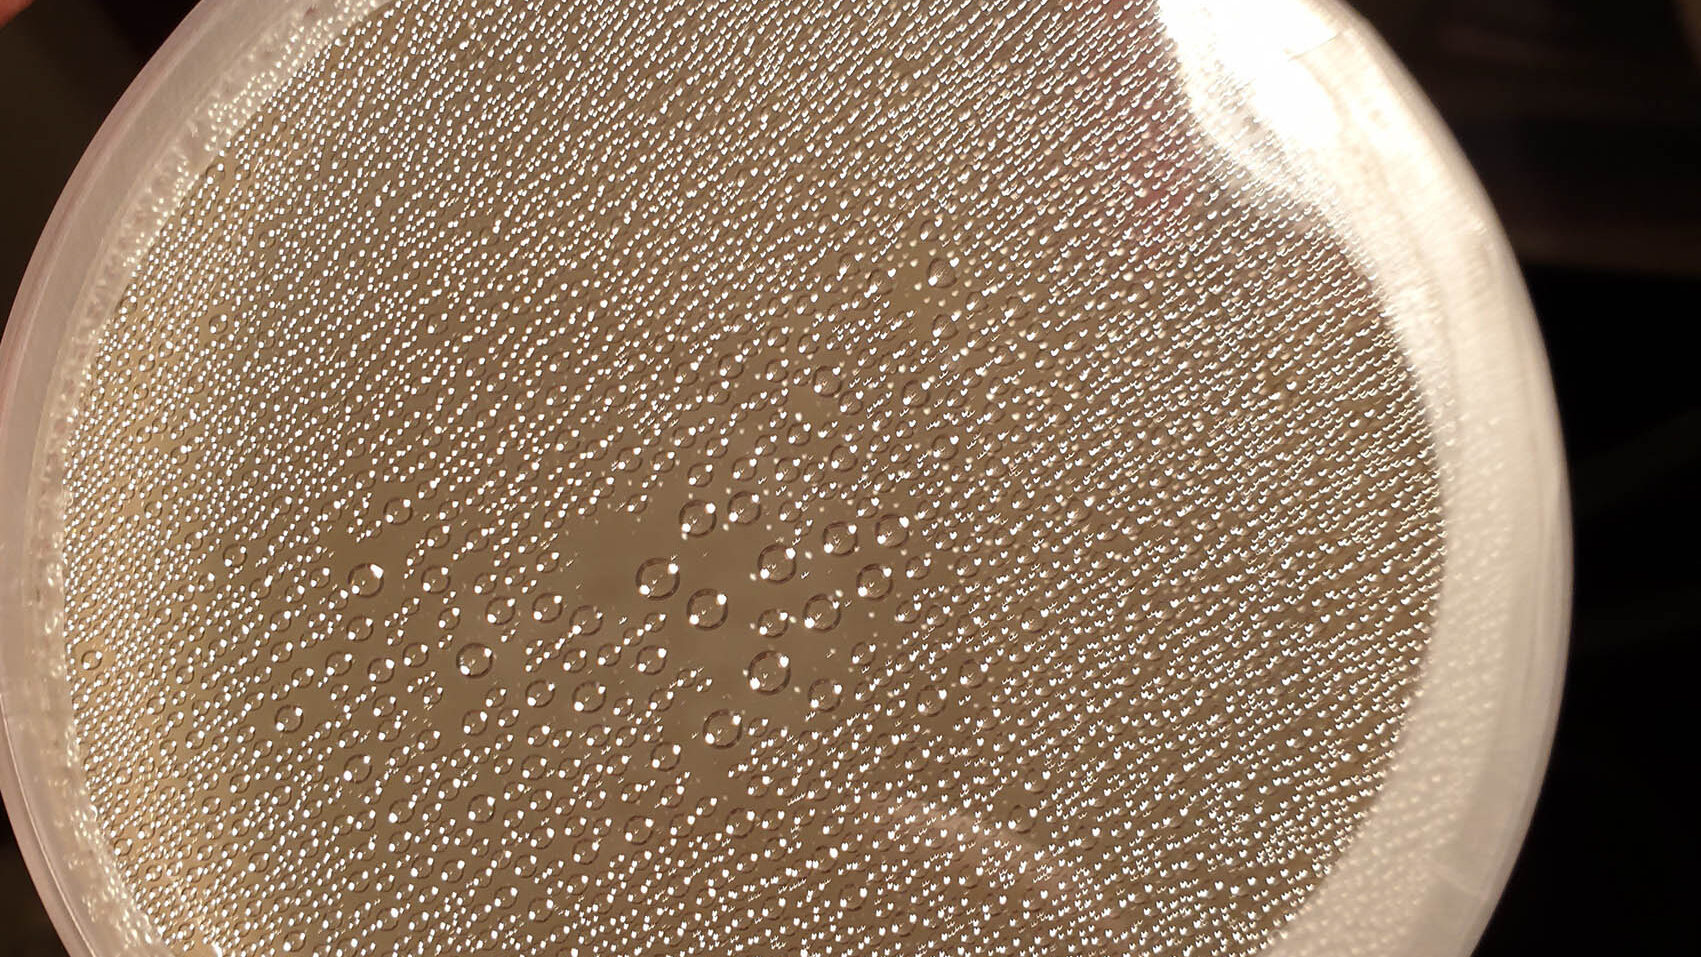
How do you get rid of condensation on agar plates?
If the condensation on the plate lids is really terrible, you can try storing them upside down and then warming them up in an incubator or anything that will evaporate the water. I have even used my laptop charger to warm an individual plate. Eventually, the agar seems to absorb the excess water and you’ll be left with nice clear plates ready for inoculation.
Do I need to use Parafilm to wrap plates?
The simple answer is no. Some people use clingfilm (saran wrap) or tape. I have tried using micropore tape but fumbling around with it inside a still air box was a nightmare. In the end, I found the best way to wrap plates is with Parafilm. I think I bought an entire double roll for £35 which lasts ages.
Part 2: Growing mycelium from spore

What are fungal spores?
Spores are microscopic single-cell structures and are a fungi’s primary method of sexual reproduction. They are capable of surviving extreme environmental hardship for many years until they find favourable conditions to germinate. Two compatible spores must combine to share their genetic information before and then grow into a mature specimen similar to sperm and an egg in the animal kingdom.

The final result of this sexual reproduction is an entirely new strain with new genetic characteristics but with inherited characteristics from both parent organisms.
How do I make a spore print?
The simplest method of collecting fungal spores is by taking a spore print from the mushroom’s cap. Simply pop the mushroom cap on some tin foil, cover and wait. Within about 12 – 24 hours the mushroom should have drooped hundreds of thousands of spores on the foil. Then simply remove the cap, wrap it up, label and store for later use.

How do I make a multi spore syringe?
The main principle is to squirt distilled water on a spore print and then suck it back up into the syringe. The distilled water hydrates the spores but doesn’t allow them to germinate as there are no nutrients.
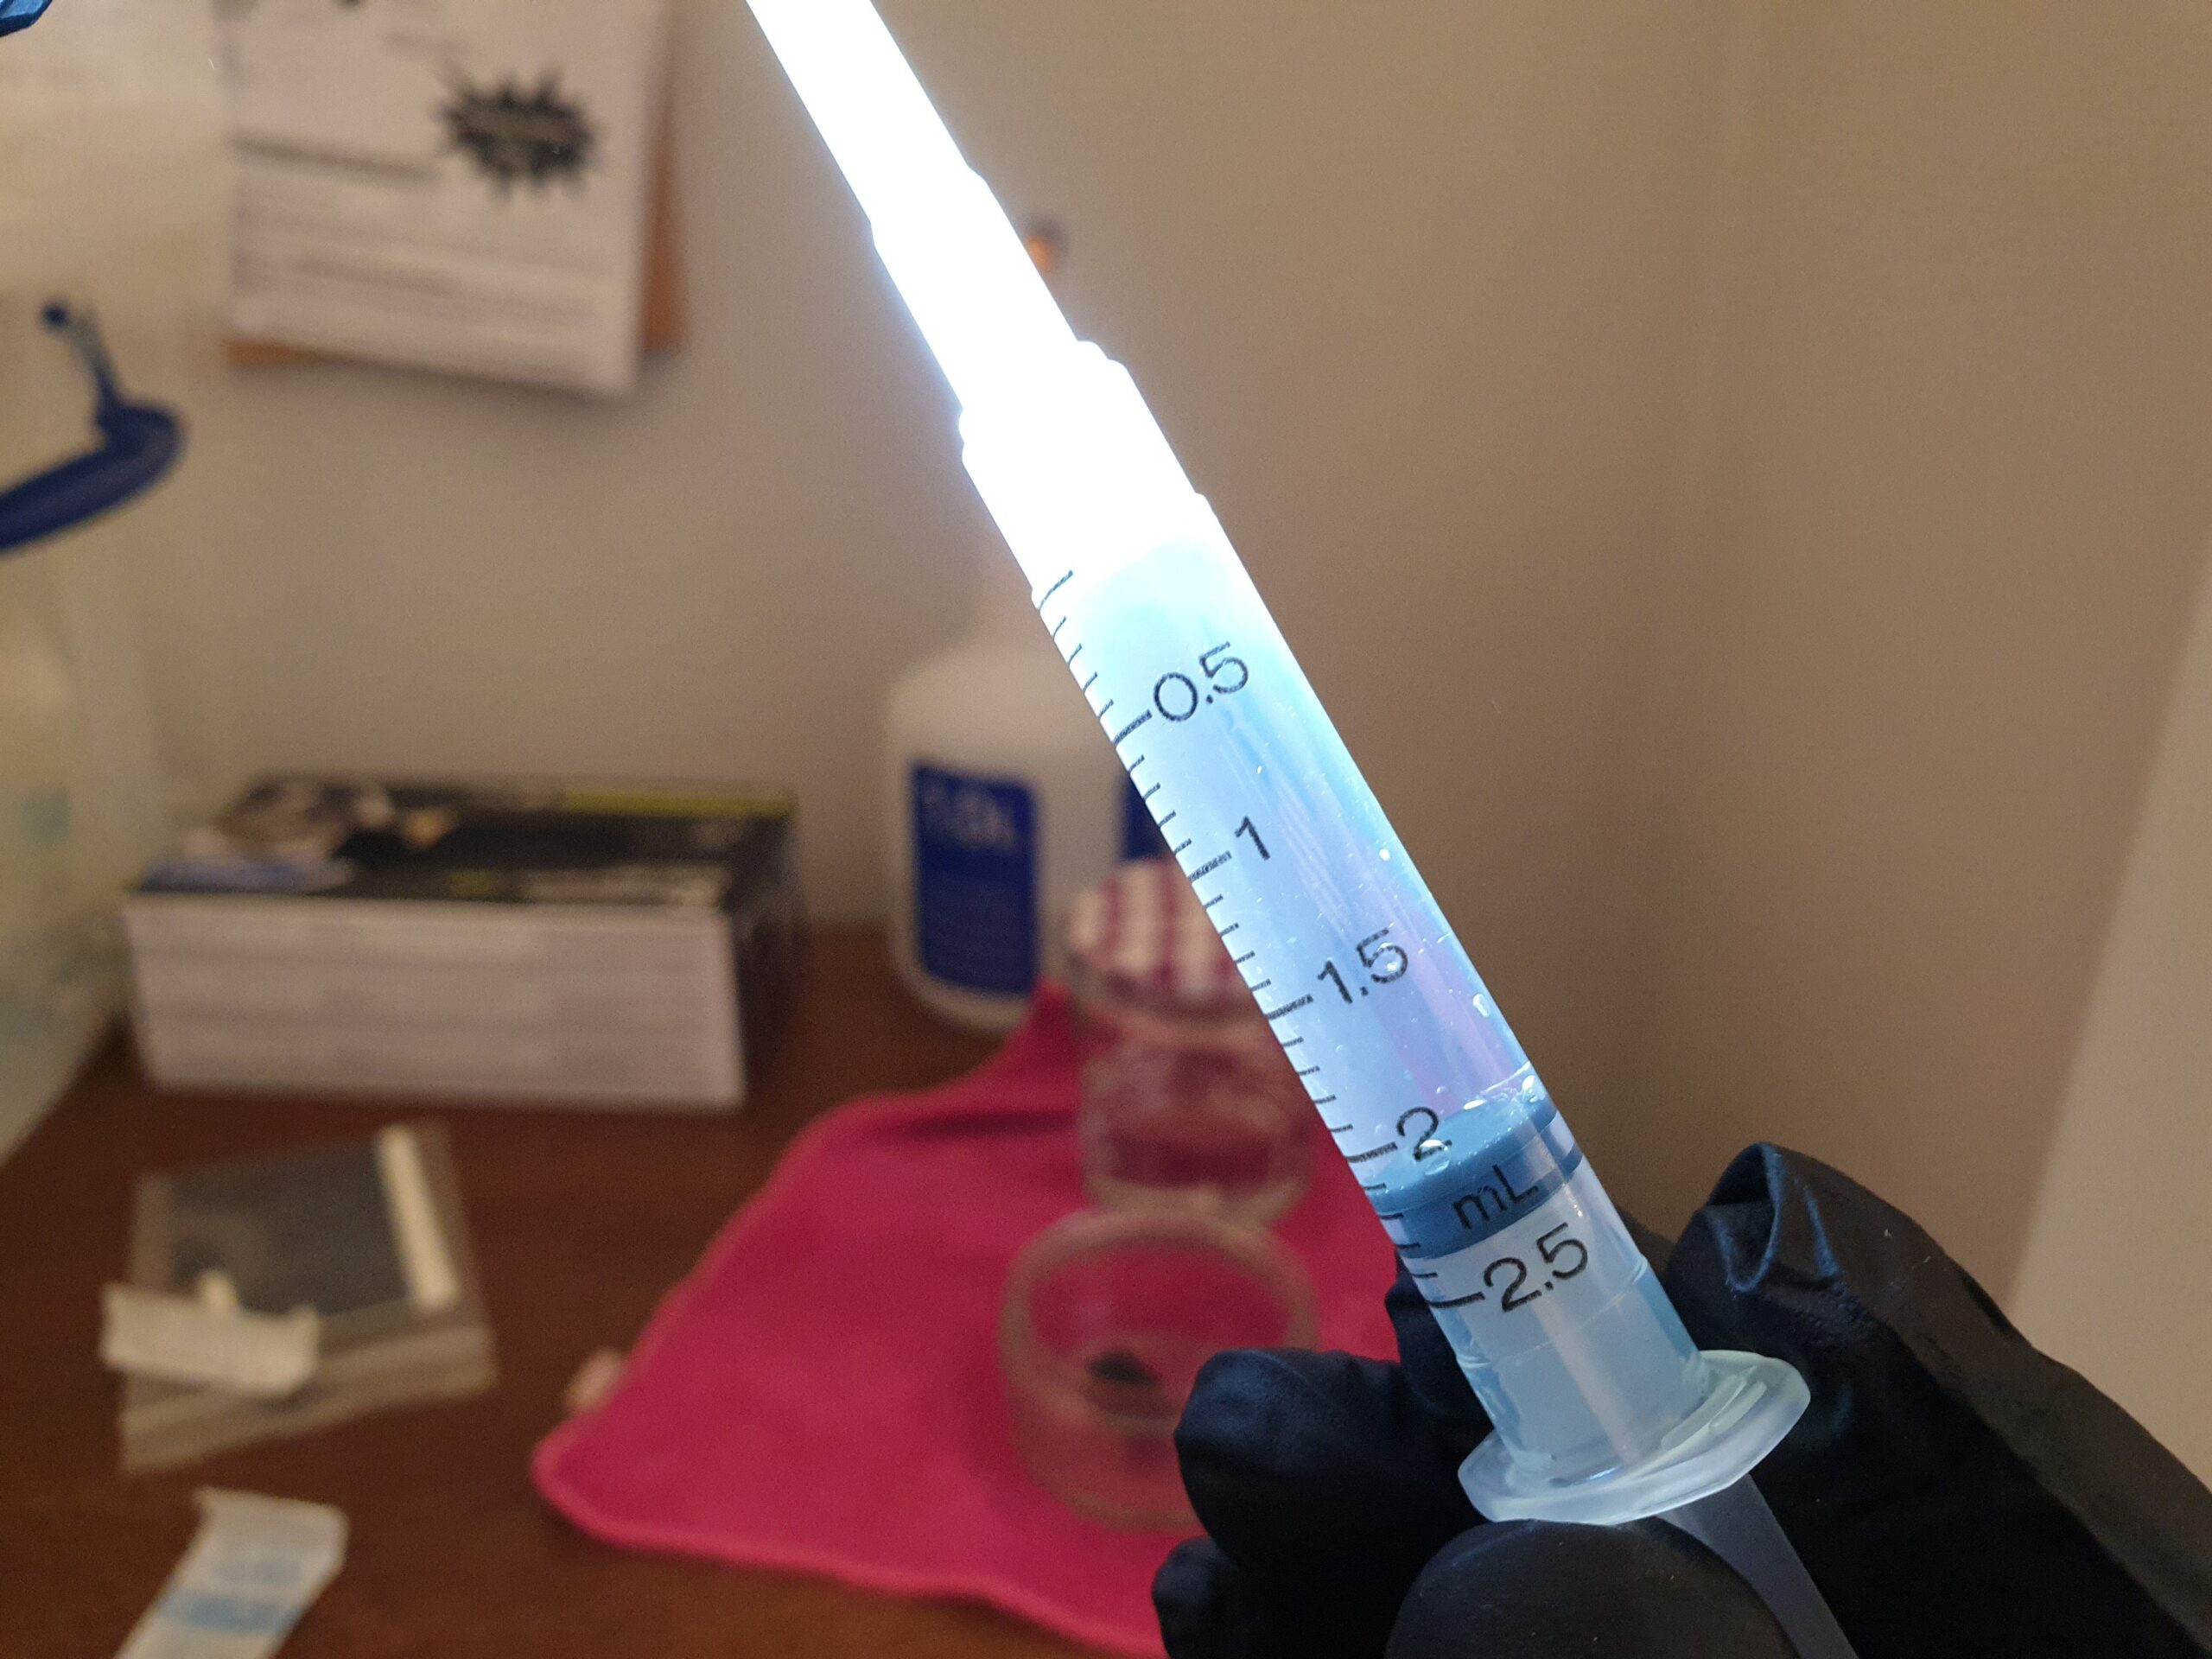
The best method I have come across uses the lid of a mason jar to make the spore print. You then put distilled water into the jar, pop the lid on and give it a shake. You can then suck up the spores and water from the mason jar with your syringe. If you are careful with your aseptic technique, you can get a very clean spore sample with this method.
Keeping things as clean as possible is always a good idea, but in general, spore samples will always have contamination.
How do I inoculate agar with a spore syringe?
For this article, I will cover inoculation using a spore syringe. However, the same principals still apply even if you use a spore covered cotton swab or something similar.
Before starting, break up any clumps of spores by tapping and shaking the syringe. Some people pull a vacuum with the plunger by leaving the cap on and then let it ping back into the spore solution.
Then inside a still air box or in front of a flow hood, carefully open your agar plate and place a drop of the spore solution on the edge of the agar ready to streak the plate.
Because a spore syringe is not 100% clean, it’s an excellent idea to spread out the sample so you will be able to distinguish the mycelium from the contamination.
Using an inoculation loop, streak the plate as shown in the video below. Each time you streak the sample, the spores spread out further. They eventually disperse enough to see the growth from a single spore with the naked eye.
Now, wrap your plate once more with Parafilm and let the spores germinate. The growth rate will depend on the species of mushroom the spores came from, but you should see some growth in about 3 to 5 days. You should also expect to see some contamination growth too.
Do I need to use an incubator to grow mushroom mycelium?
Incubators are great, but it’s not usually a necessity, they just provide a stable environment at the optimum temperature to grow mycelium. Most mushroom species will tolerate a range of temperatures before they become damaged. You should also be aware that certain temperatures ranges can also begin to favour other microbes and increase the chance of contamination problems.
How do I identify contamination on an agar plate?
To spot contamination, you should know precisely what the mushroom mycelium looks like first then anything that isn’t that, should be treated as contamination.
In practice, spotting contamination can be tricky because, over time, fungal mycelium can change form and colour, and it can also look similar to many types of mould.
When you are just starting, it’s a great idea to join an online community like Mushroom Growing UK on Facebook where you can ask more experienced people for advice. In no time at all, you will be able to spot contamination like a pro, it just takes a little practice.
Here is a gallery of my contamination hall of shame.


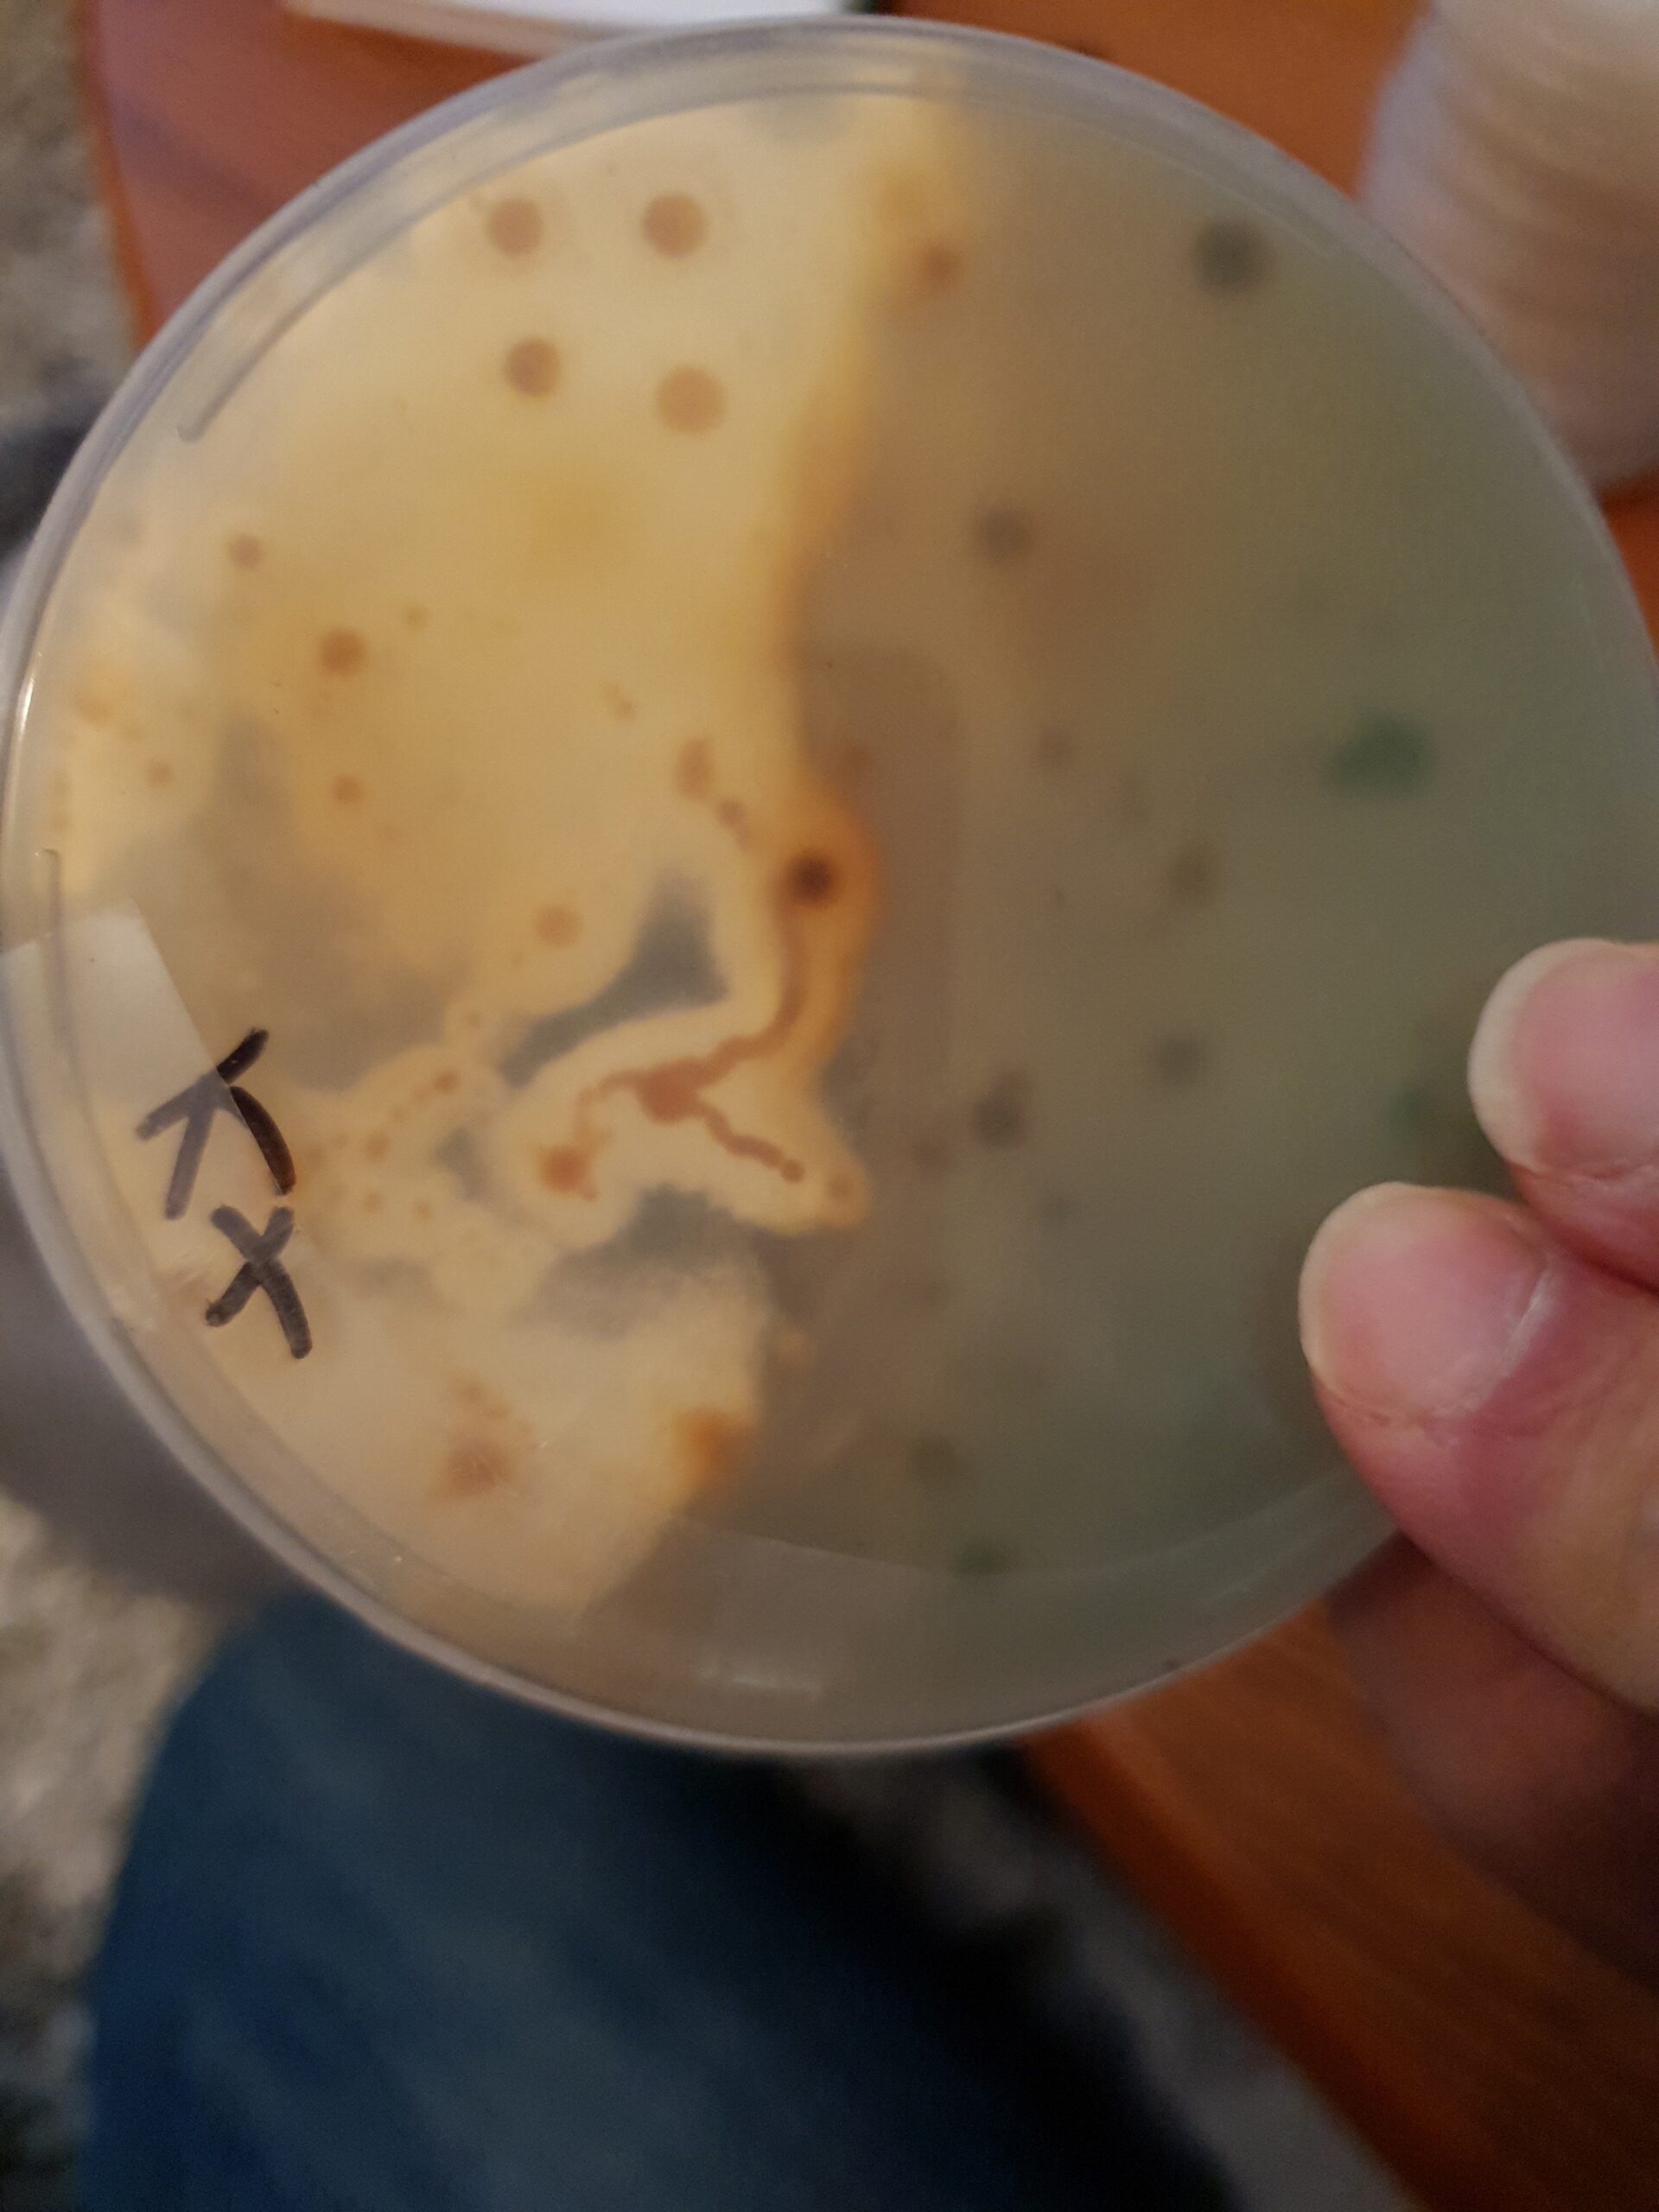

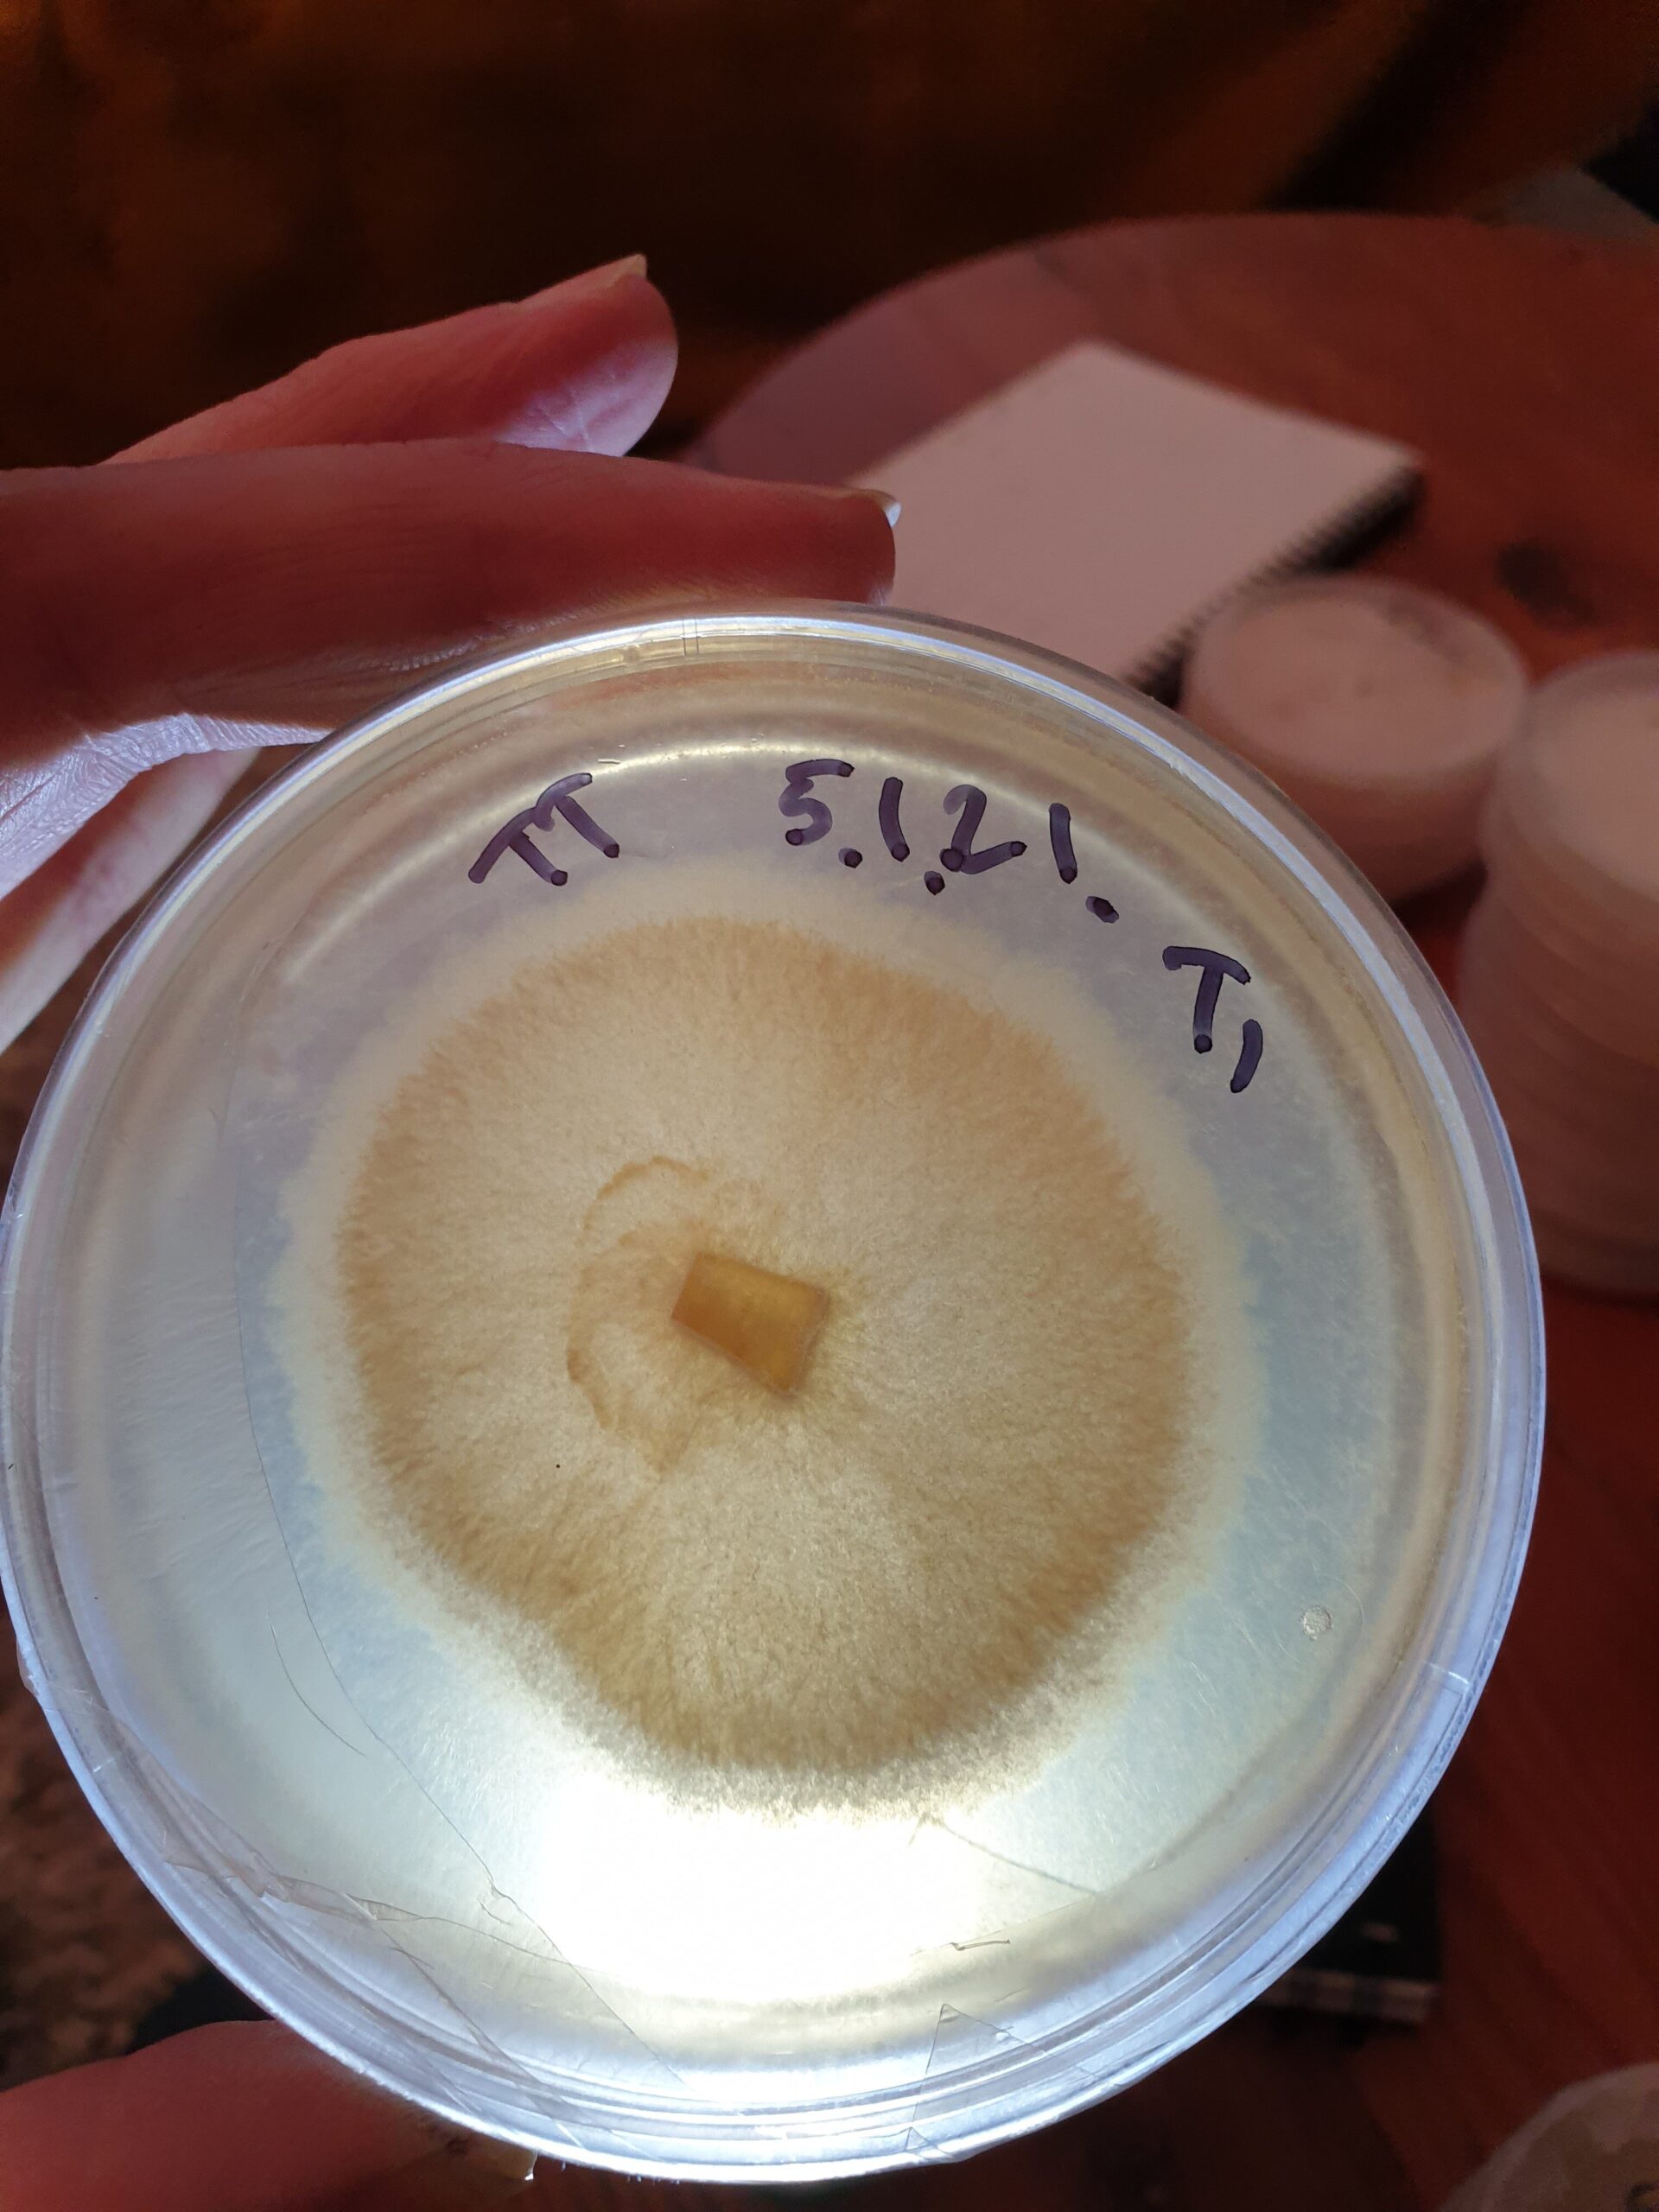


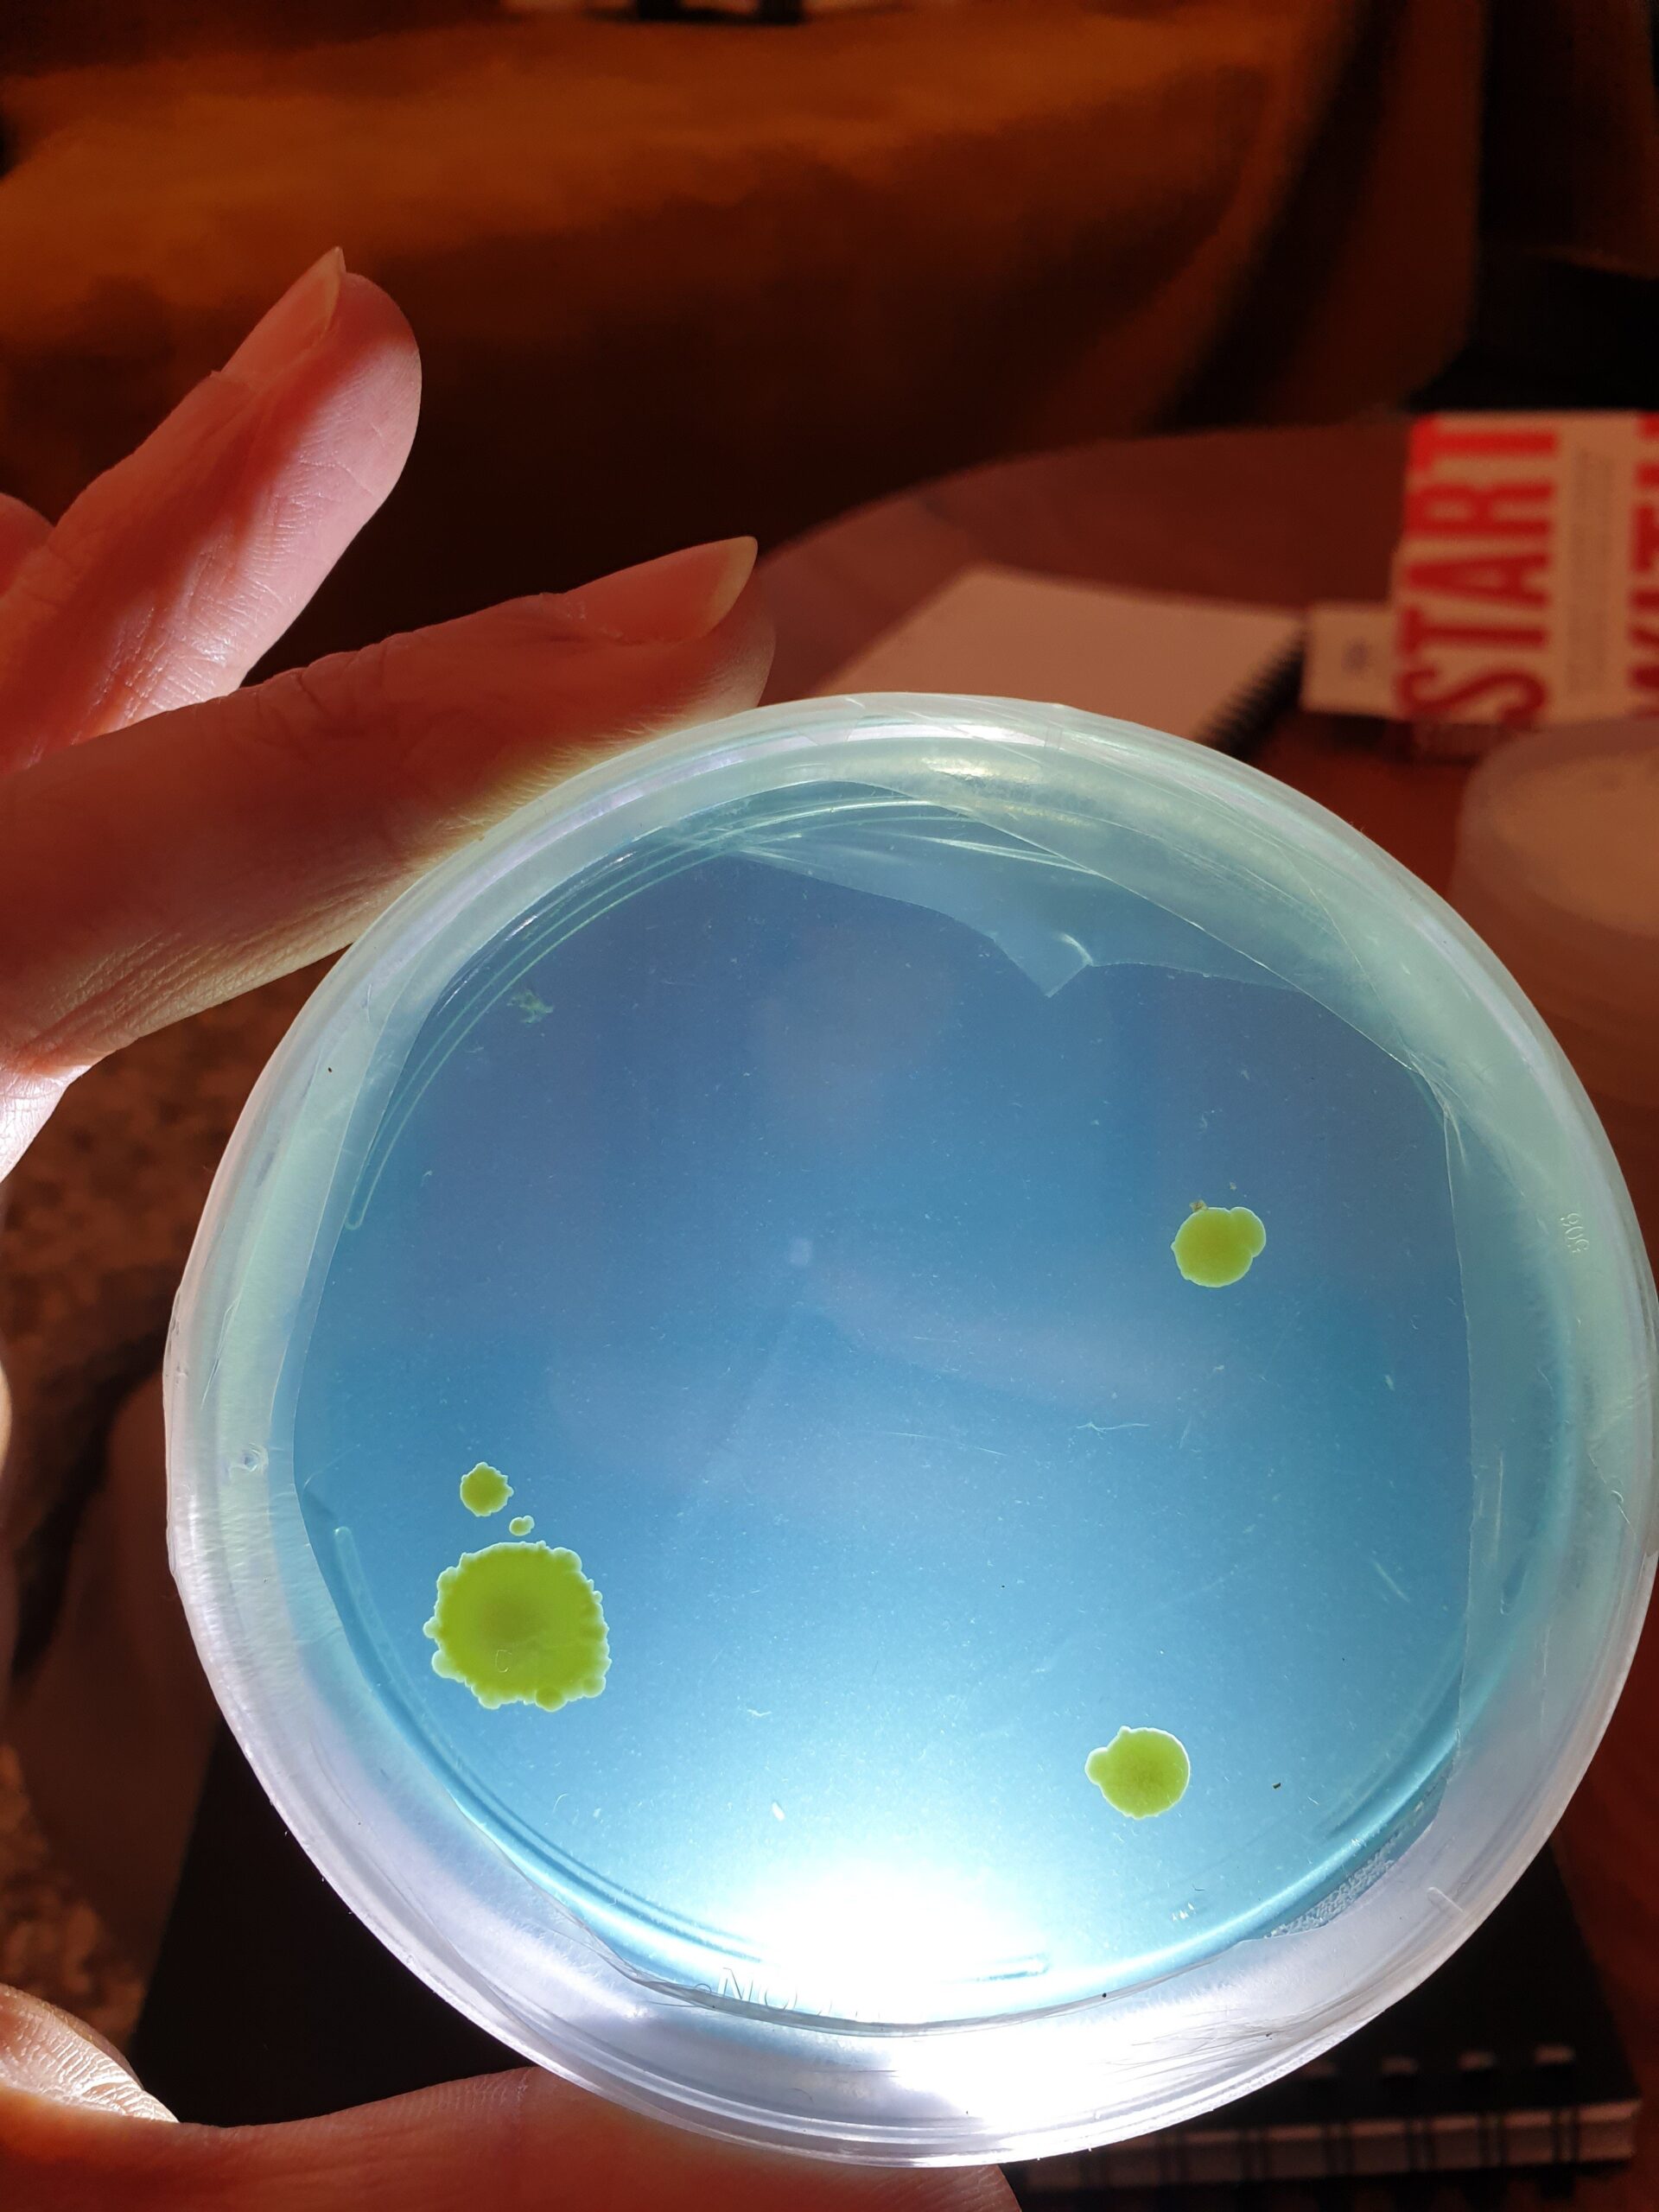


In general, mushroom mycelium is a thick healthy white colour.
Mycelial metabolites are sometimes exuded from the mycelium as an orangey-yellow colour – this is usually no cause for alarm.
Yeast is usually a smooth milky cream colour. It either appears as in a dot or a large blob.
Bacteria looks similar to yeast but come in a variety of colours – it can also be invisible and you only notice it because the mycelium wont grow over it.
Mould looks like fungal mycelium but often changes colour as it sporulates and turns green or black. Green spots are nearly always bad.
Mould mycelium will not mix with the mushroom mycelium, and you can usually see a dividing line when the leading edges touch on agar.
If you see mould or contamination, it’s best not to open the container inside or near your grow room. Trichoderma is a common mould known to be a severe threat to both commercial and hobby farms alike.
When should I start making transfers?
After the initial inoculation, you should start making transfers to a fresh agar plate as soon as possible. Don’t let everything overgrow as you won’t be able to tell fungi from contamination.
How do I make transfers and clean up the sample?
Working inside a still air box or in front of a flow hood, carefully unwrap your inoculated agar plate. Pick an area of the plate that is free of contamination. With a sterile scalpel, cut a small section from the leading edge of the advancing mycelium. If you can’t find a spot on the leading edge without contamination, just cut anywhere that looks clean.
Transfer the cut square to a fresh agar plate using the scalpel’s point and place the mycelium side down on the agar, close the lid and wrap with Parafilm. Repeat the process a few times on other areas of mycelium that look clean. You should end up with several new plates transferred from the original spore inoculation.
Grow out the new plates and make new transfers until you can no longer identify any contamination. The number of times you have to do this will largely depend on how clean your original spore sample was and how good your aseptic technique is.
With practice, you will probably be able to clean up a spore sample in 1 to 2 transfers.
Can I use the clean mycelium to grow mushrooms now?

Yes, absolutely. You can use this cleaned mushroom mycelium to transfer to grain or liquid culture and then onto bulk substrate. However, the sample is likely to contain multiple different strains of the particular mushroom species you are trying to grow.
Fruiting mushrooms with multiple different strains in the same pot isn’t necessarily a bad thing. However, you will get unpredictable results with mushrooms fruiting at different times and producing a variety of different yields. Some people use this multi-strain crop to take clones and then grow isolated strains from there, but that would be beyond the scope of this article.
In my opinion, the best way to get predictable results that are repeatable over time is to isolate the genetics.
Part 3 isolating genetics
Why is it important to isolate fungi genetics?
As mentioned previously isolating individual strains is the cornerstone of mushroom cultivation. Using a pure strain with known properties can give you consistent, predictable results and used as the master from which you expand all other cultures.
Strain isolation is especially important when producing any kind of medicinal mushroom because you want to guarantee the final product’s potency.
How do you start to isolate strains on agar?
You begin by identifying sectors in the mycelium that appear separate from the others. [{Diagram-Image}] It might not always be that obvious, but if you keep taking small samples from the leading edge of the advancing mycelium, you will eventually end up with an isolated strain.
Another way is to grow out the mushrooms and use one of them to clone. Now a cloned mushroom still doesn’t mean you have an isolated strain but it is easier to continue the isolation process from this stage.
How do you know when you have an isolated strain?
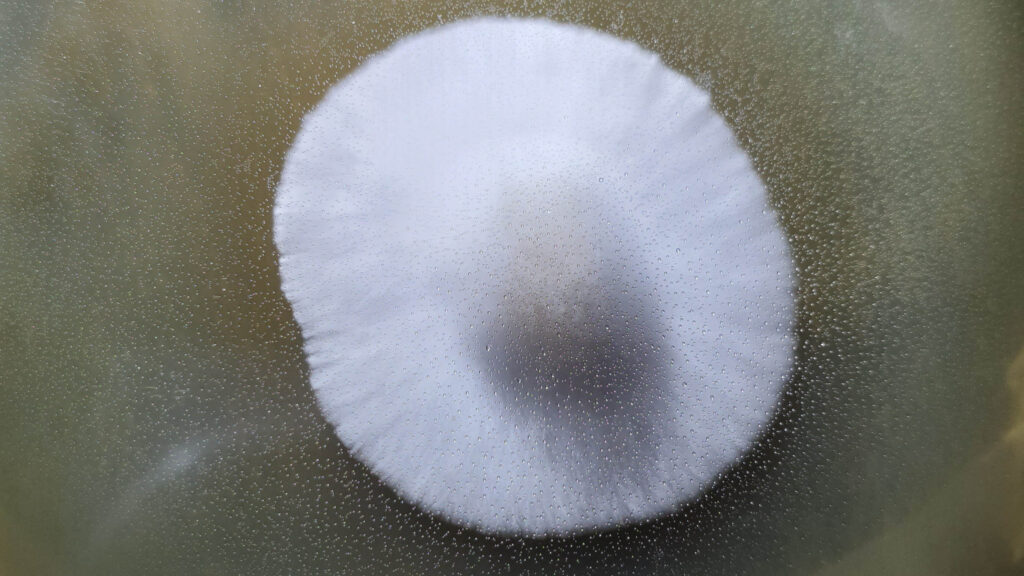
Without a genetic analysis and expensive microscopes, it is difficult to be 100% sure that you have an isolated strain but you are looking for consistent uniform growth. The isolated strain will be mostly round in shape with no clearly defined sections.
What do I do now?
You can now use your unique mushroom strain for expansion with grain or liquid culture. Congratulations!
I would also recommend that you keep some in cold storage because if anything goes wrong with the growing process further down the line, you will always have your master strain to fall back on.
It’s always a good idea to anticipate something going wrong and keep at least one backup of each strain produced.
How do you store mushroom mycelium?
Most people us slants in a refrigerator which is basically mini agar plates inside a corked test tube. It allows for long-term storage in a relatively small space.
Even inside a test tube, it is still possible for cultures to dry out. To avoid this, allow the mycelium to grow between the agar and the test tube’s glass, which will protect it for many years. Some people also like to refresh their stored sample once a year by simply taking them out and growing again on a new slant.

How To Clean A Spore Sample And Isolate A New Strain Of Fungus On Agar Read More »

